
Balloon columns don’t have the be costly additions for an event.
Whether it is residential or commercial hosts, these packages can be a great complimentary item that can work as an entrance or around a table of gifts.
It can apply for a baby birthday, house warming party, an engagement party, reaching an important milestone or promoting a product for an event.
How do consumers make the most out of this investment exactly?
Here we will offer some key tips to making these products pop – all within a modest budget.
Don’t Be Afraid To Buy In Bulk
The good news about investing in balloons is that they are not a costly investment. Although the idea is to work within a strict budget framework, the best starting point is to purchase above and beyond what the estimate would suggest. These items can easily burst through a small puncture, so the more items that are on hand, the easier the project will become.
Purchase The Right Colour For The Event
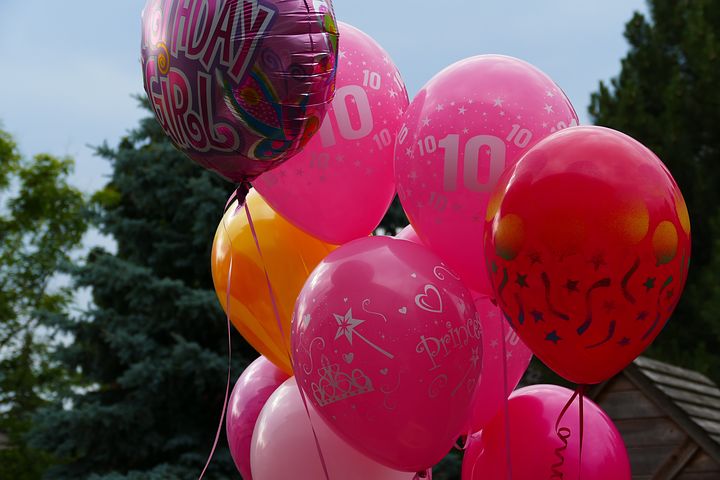
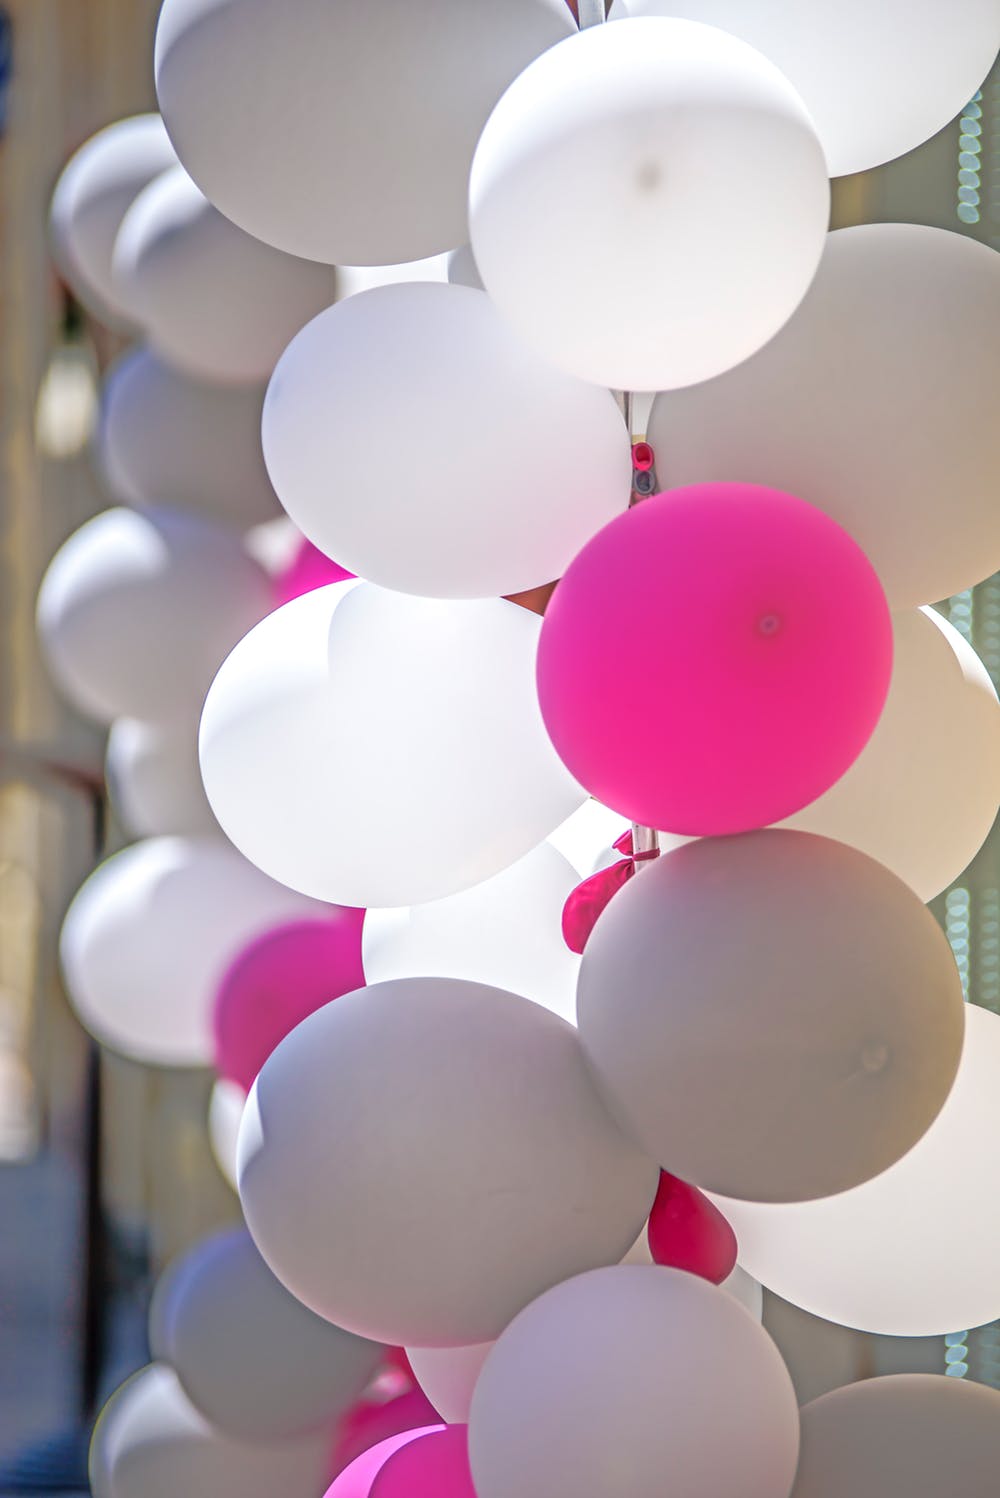
The single most important consumer decision that can be made when purchasing balloon columns on a budget is to select the right colour for the event. For a baby shower, wedding, engagement gathering or christening it is always a sound option to opt for white. Children’s birthday parties on the other hand are colourful by nature and this is where a collage of reds, blues, greens and yellows is preferable.
Have The Right Supporting Equipment
There are a number of key ingredients that should be utilised to ensure that any balloon columns don’t cost an arm and a leg. This will include a series of thumb tacks, pair of scissors, an air compressor or pump, threading needles, fishing wire and a glue gun to hold the structure firm into position.
Get The Perfect Round Shape
One of the great challenges involved in creating balloon columns is the consistency of each individual item. When they are being filled by the pump or air compressor, they can contort themselves into obtuse and unusual shapes that makes for an odd aesthetic. This is where the user should place their hands at either end of the product when it is being filled with air, compressing the design to fit a neat round shape. If there are too many oval shapes, that will be an indication that the material was simply applied to the pump and left to fill with the air automatically. Once there is a nice consistent smooth round shape, immediately tie it up at the end and proceed with the rest of the batch.
 String The Items Together
This next step is where the fishing wire and threading needles come in handy for that perfect design of balloon columns. Simply grab the ends of each item and filter the wiring through one at a time. There are two different approaches with this exercise – to opt for a straight line design where each balloon stands in isolation, or bunched together. If the designer has bought in bulk then it is worthwhile linking up as many products as possible. This will add weight to the overall presentation and stand out as a centerpiece item for the event, as well as mitigating against any strong winds for an outdoor environment.
Pin The Structure To The Wall or Post
The final phase is to utilise the glue gun at either ends before linking the wire from the balloon columns. The more creative event hosts like to design an intimate archway and include more glue to craft a semi-circle shape. Others like to create a free flowing effect that constitutes a freestyle presentation that doesn’t adhere to a straight line. Whatever feels right for the occasion, utilise the glue gun to maneuver the design in the style that suits best.